

Every Canadian meal planner knows the satisfaction of opening your pantry to find tasty homemade ingredients ready for any recipe. With the rise of DIY food preservation, freeze drying meat is becoming a trusted method for safeguarding dinner staples without sacrificing flavor or nutrition. By focusing on key steps like preparing and trimming meat for freeze drying, you make sure your hard work delivers safe, high-quality results your family can count on for months to come.
Table of Contents
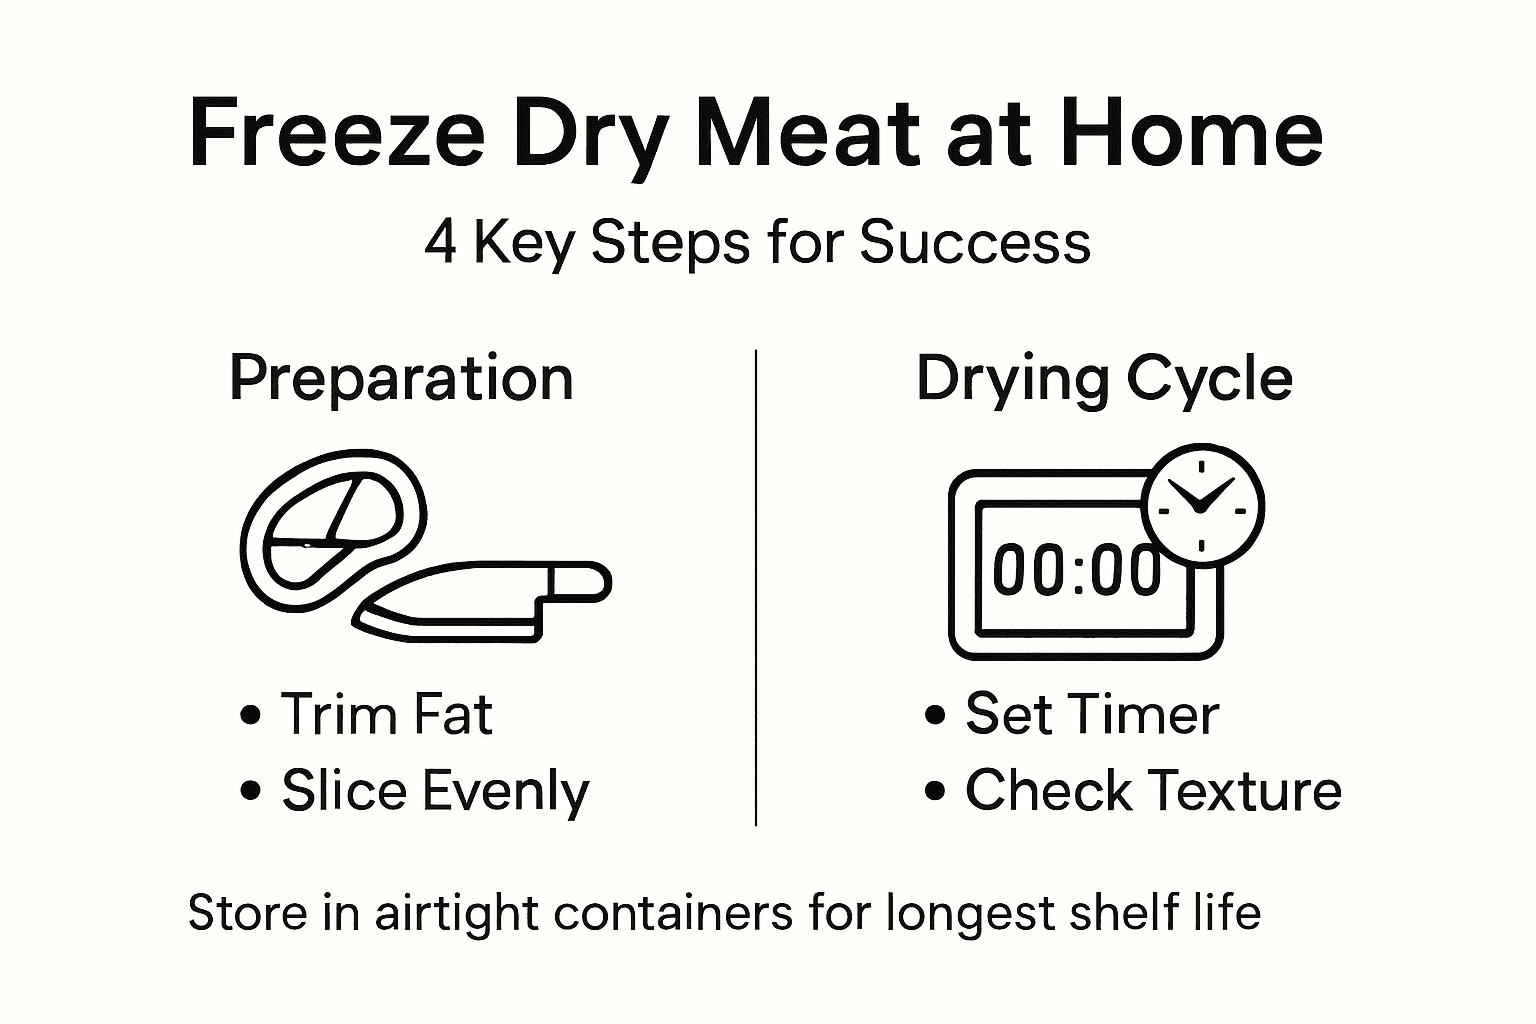
- Step 1: Prepare And Trim Meat For Freeze Drying
- Step 2: Arrange Slices And Load Freeze Dryer Properly
- Step 3: Set Freeze Dryer And Monitor Cycle Progress
- Step 4: Check Dryness And Store Freeze Dried Meat
Quick Summary
| Key Point | Explanation |
|---|---|
| 1. Select fresh, high-quality meat | Start with clean, fresh meat for optimal freeze drying results, ensuring the final product’s quality and safety. |
| 2. Trim excess fat and connective tissue | Careful trimming is essential to prevent rancidity and ensure uniform drying, improving overall preservation. |
| 3. Arrange slices without overlapping | Proper spacing on trays prevents moisture pockets and guarantees even drying, reducing the risk of spoilage. |
| 4. Monitor freeze drying cycle closely | Regular checks during the cycle help catch deviations in temperature and pressure that can affect quality. |
| 5. Store in airtight containers away from light | Proper storage conditions are crucial to prolong shelf life, ensuring the meat remains dry and safe for consumption. |
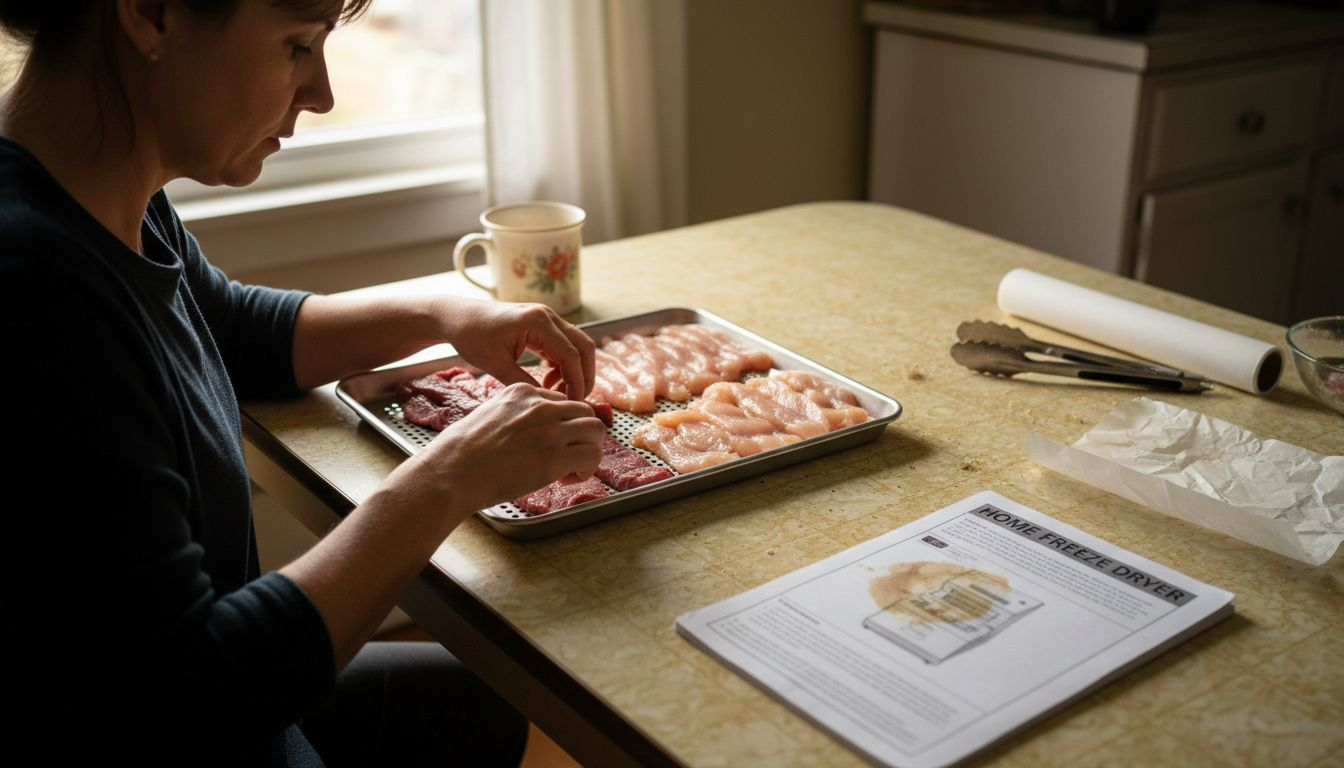
Step 1: Prepare and trim meat for freeze drying
This step sets the foundation for successful freeze drying. You’ll clean your meat, remove unwanted fat and connective tissue, and cut everything into uniform pieces that’ll dry evenly.
Start by selecting high-quality, fresh meat. The cleaner your starting ingredient, the better your final product. Rinse your meat under cool running water and pat it completely dry with paper towels. Any surface moisture can harbor bacteria, so don’t skip this.
Now comes the trimming part. Fat is your enemy in freeze drying. Unlike water content, fat doesn’t freeze dry well and can turn rancid during storage, potentially ruining your whole batch. According to research on proper cutting and pre-treatment, careful trimming to remove excessive fat is critical for quality preservation.
Remove visible fat, silverskin, and any tough connective tissue:
- Trim away all outer fat layers
- Remove silver skin and membranes
- Cut out any discolored or damaged areas
- Pay special attention to areas between muscles
After trimming, cut your meat into uniform pieces. This ensures even drying. Your pieces should be roughly the same thickness and size so they finish at the same time. Here’s what works best:
- Cut meat into strips about 1/4 to 1/2 inch thick for faster drying
- Cut against the grain for tender results
- Keep pieces consistent in size, roughly 2-4 inches long
- Avoid cutting too thin, or pieces will become brittle and powdery
Uniform piece size is non-negotiable for consistent results. Thin pieces dry while thick pieces still contain moisture.
If you’re planning to marinate your meat for extra flavor, now’s the time to do it. Pre-treatment like marinating can enhance flavor and aid preservation before the freeze drying process begins. Just pat the meat dry again before loading it into your freeze dryer.
Pro tip: _Work with meat that’s been chilled for at least an hour before cutting. Cold meat is firmer and easier to slice uniformly, giving you better control and more consistent piece sizes.
Step 2: Arrange slices and load freeze dryer properly
This step determines whether your meat dries evenly or ends up with wet spots and uneven texture. You’ll arrange your prepared slices on trays and load them into your freeze dryer following proper spacing guidelines.
Start by understanding your freeze dryer’s capacity. Check your machine’s manual for maximum load recommendations and tray specifications. Overloading is a common mistake that compromises drying performance. A freeze dryer machine has specific capacity limits designed to maintain optimal airflow and temperature distribution.
Now arrange your meat slices on the trays. Spread them out in a single layer without overlapping. Think of it like arranging cookies on a baking sheet, not stacking them. Each piece needs direct exposure to the vacuum and heat energy that powers the sublimation process.
Proper spacing matters significantly:
- Leave space between each slice (about 1/4 to 1/2 inch gaps)
- Don’t let pieces touch or overlap
- Avoid crowding the tray to maintain airflow
- Distribute weight evenly across the tray surface
According to research on uniform sizing and arrangement, overlapping or stacking leads to incomplete drying and potential spoilage. Pieces that touch won’t dry on those contact surfaces, creating moisture pockets that can harbor bacterial growth.
Here’s how to load your freeze dryer properly:
- Place prepared trays onto the shelves according to manufacturer instructions
- Ensure trays sit level and secure within the machine
- Don’t force multiple trays if your machine recommends single-tray loading
- Close the door gently without disturbing the arrangement
- Run a final visual check before starting the cycle
Never exceed your machine’s rated capacity. Overloading causes uneven drying that ruins batches and damages equipment.
Once loaded, you’re ready to start the freeze drying cycle. Your machine will handle the rest, pulling moisture directly from the frozen meat through sublimation.
Pro tip: Use parchment paper or silicone mats on your trays if your meat pieces are particularly small or fragile. This prevents pieces from falling through tray gaps while maintaining the airflow you need for even drying.
Step 3: Set freeze dryer and monitor cycle progress
This step is where the magic happens. You’ll configure your freeze dryer’s settings and then watch the cycle progress to ensure everything runs smoothly. Proper monitoring prevents costly mistakes and guarantees quality results.
Start by consulting your machine’s manual for recommended settings. Every freeze dryer model differs slightly, but the basic parameters remain consistent. You’ll need to set the freezing temperature, vacuum pressure, and shelf heating temperature. These values depend on your meat type and thickness.
Typical settings for meat freeze drying include:
- Freezing temperature: around negative 40 to negative 50 degrees Fahrenheit
- Vacuum pressure: between 100 to 200 microns during primary drying
- Shelf temperature during secondary drying: around 110 to 130 degrees Fahrenheit
Once you’ve entered these parameters, your freeze dryer will begin its three-phase cycle. The freeze drying cycle involves initial freezing, followed by primary drying under vacuum where sublimation occurs, and then secondary drying at slightly higher temperatures to remove residual moisture.
Now comes the monitoring part. Don’t just hit start and walk away. Check your machine regularly during the cycle:
- Watch pressure gauges for stable vacuum levels
- Observe temperature sensors to confirm heating is consistent
- Listen for unusual sounds or alarms
- Note the time remaining on your display
- Check visually through the window if your machine has one
Your freeze dryer may have automated alarms for critical deviations. These alert you if pressure drops too low, temperature spikes, or other issues arise. Pay attention to these warnings.
Deviations during the cycle directly affect product quality and shelf life. Small monitoring catches prevent major problems.
The primary drying phase typically takes 20 to 30 hours depending on your load size and meat thickness. Secondary drying adds another 5 to 10 hours. Plan your schedule accordingly so you’re available if issues arise.
When the cycle completes, your machine usually signals with a beep or notification. The meat should be completely dry, lightweight, and shelf-stable.
Pro tip: Keep a simple log sheet next to your freeze dryer recording the date, meat type, cycle settings, and any observations. This helps you troubleshoot problems and optimize future batches.
Here’s an at-a-glance summary of freeze dryer settings for various meats:
| Meat Type | Freezing Temp (°F) | Shelf Temp (°F) | Typical Drying Time (hrs) |
|---|---|---|---|
| Beef | -40 to -50 | 120 | 24–36 |
| Poultry | -40 to -50 | 110 | 22–30 |
| Pork | -40 to -50 | 115 | 24–34 |
Step 4: Check dryness and store freeze dried meat
You’re almost finished. Now you need to verify that your meat is completely dry and then store it properly for long-term freshness. This final step determines whether your batch stays shelf-stable for years or spoils within weeks.
Start by letting your meat cool to room temperature after the cycle ends. Never handle hot freeze-dried meat, as it can reabsorb moisture from the air. Wait at least 30 minutes before opening the chamber.
Now assess the dryness of your meat. Properly dried meat should be hard and brittle when you break a piece. If it feels leathery or bends without snapping, it needs more drying time. Run an additional secondary drying cycle for 2 to 4 hours and recheck.
You can perform a simple dryness test:
- Break a piece in half and listen for a snap sound
- Check that no moisture appears on the break surface
- Verify that pieces feel lightweight and crisp
- Confirm that meat crumbles easily between your fingers
Once satisfied that your meat is fully dried, move directly to storage. Moisture will quickly ruin your work if exposed to air. Pack your freeze-dried meat into airtight containers away from heat and light to prevent rehydration and maintain quality.
Best storage practices include:
- Use glass jars with airtight seals or vacuum-sealed bags
- Remove as much air as possible before sealing
- Store in a cool, dry place away from direct sunlight
- Keep temperature stable between 50 and 70 degrees Fahrenheit
- Maintain humidity levels below 15 percent in your storage area
Properly stored freeze-dried meat can last several years. Storage conditions must remain stable or deterioration accelerates rapidly.
Label each container with the meat type, cut, freeze-drying date, and storage date. This helps you rotate stock and track freshness. Beef lasts longest, followed by poultry, then pork.
Pro tip: Add food-grade silica gel packets to your storage containers to absorb any residual moisture. Replace packets every 6 months to ensure your meat stays completely dry and protected.
Here’s a quick comparison of freeze drying versus traditional meat preservation methods:
| Method | Shelf Life | Texture Change | Storage Requirements |
|---|---|---|---|
| Freeze Drying | 5–25 years | Retains structure | Airtight, low humidity |
| Canning | 1–5 years | Soft, moist | Cool, dark place |
| Dehydrating | 6–12 months | Chewy, leathery | Dry, airtight containers |
| Freezing | 6–12 months | Texture may change | Continuous cold, freezer |
Preserve Your Freeze Dried Meat Quality with Proven Packaging and Co-Packing Solutions
Successfully freeze drying meat at home demands careful preparation, perfect slicing, and close cycle monitoring to ensure uniform dryness and long shelf life. However the journey does not end there. Proper storage and packaging play a critical role in maintaining your meat’s freshness and preventing spoilage. If you want to avoid the common pitfalls of moisture absorption or rancidity after your freeze drying process, expert packaging is essential.

Discover how Space-Man offers comprehensive packaging services tailored to keep your freeze dried meats safe and shelf-stable for years. Whether you need airtight bags, glass jars, or custom vacuum sealing we provide durable options to lock in quality. With private labeling and co-packing services you can also elevate your home-prepared goods into professional-grade products. Act now to protect your freeze dried bounty and simplify long-term storage by visiting Space-Man’s freeze drying packaging solutions. Start preserving your meat the right way today.
Frequently Asked Questions
How do I prepare meat for freeze drying at home?
To prepare meat for freeze drying, start by selecting high-quality, fresh meat. Clean the meat, remove unwanted fat, and cut it into uniform pieces about 1/4 to 1/2 inch thick to ensure even drying. Follow this with trimming any connective tissue and marinating if desired before loading it into the freeze dryer.
What is the best way to load meat into a freeze dryer?
Arrange your meat slices in a single layer on the trays without overlapping. Leave 1/4 to 1/2 inch gaps between pieces to maintain proper airflow. Ensure each tray is balanced, secure, and fits the recommended capacity of your freeze dryer to avoid uneven drying.
How long does the freeze drying process take for meat?
The freeze drying process typically takes about 20 to 30 hours for the primary drying phase, with an additional 5 to 10 hours for secondary drying. Monitor the cycle closely to ensure everything runs smoothly and adjust the drying time if necessary based on the thickness of your meat pieces.
How can I tell if my freeze dried meat is fully dried?
Check if the meat is completely dry by breaking a piece in half; it should snap easily and feel lightweight. If the meat is leathery or bends without snapping, it indicates it needs more drying time, so run an additional drying cycle for 2 to 4 hours and reassess.
What are the best storage practices for freeze dried meat?
Store freeze dried meat in airtight containers in a cool, dry place away from direct sunlight to maximize shelf life. Use vacuum-sealed bags or glass jars with airtight seals, ensuring to remove as much air as possible before sealing to prevent moisture absorption.
How long can I store freeze dried meat?
Properly stored freeze dried meat can last anywhere from 5 to 25 years, depending on the type of meat and storage conditions. Keep your containers labeled with the meat type and date, and maintain a stable temperature between 50 and 70 degrees Fahrenheit for optimal longevity.