

Shrinkage is normal, and honestly, it’s a sign your curls are doing exactly what they’re supposed to do. To visibly reduce it, stretch your hair while it’s still damp using tension methods like banding, threading, or braid and twist-outs, then lock the style in with a moisture-seal routine. Save low-heat tension blow-drying for occasional use, not your weekly routine.
A few things you can try right now:
- Band your damp hair in sections with snag-free elastics for an instant stretch.
- Do a braid-out or twist-out overnight instead of wearing your curls out wet.
- Layer LOC or LCO (liquid, oil, cream or liquid, cream, oil) before styling to hold the stretch longer.
- Pineapple your hair at night under a satin bonnet to keep tomorrow’s stretch intact.
Pro Tip: Every one of these stretches is temporary. A little water and your curls bounce right back to their natural pattern, which means you can experiment without any real risk. The only stretch that sticks around permanently comes from chemical relaxers or repeated high-heat straightening.
Key Takeaways
Reducing visible shrinkage comes down to stretching hair with tension methods while damp, sealing in moisture, and treating heat as an occasional tool rather than a routine.
| Point | Details |
|---|---|
| Stretch while damp | Apply banding, threading, or braid-outs to wet or damp hair, then let it dry fully before removing. |
| Seal moisture first | Use LOC or LCO layering based on your porosity so the stretch holds longer through the day. |
| Treat heat as occasional | Keep blow-dryers on low heat, limit passes, and space heat sessions weeks apart to protect curl pattern. |
| Protect stretch overnight | Sleep on satin or silk and pineapple your hair to preserve the stretch you built during styling. |
| Retain length with trims | Regular trims and protein/moisture balance stop breakage from undoing your visible length gains. |
Table of Contents
- What Causes Hair Shrinkage and Which Curl Types Shrink Most?
- Quick Action List: Easy Steps to Reduce Visible Shrinkage Today
- Step-by-Step Instructions for the Best Heat-Free Stretching Techniques
- Moisture Routines and Product Layering for Better Stretch Retention
- Heat Safety: When to Use Heat and How to Avoid Damage
- Retaining Length: Reduce Breakage So Stretched Styles Show True Growth
- An Honest Take on Stretching Curly Hair Without Wrecking It
- Sources
What Causes Hair Shrinkage and Which Curl Types Shrink Most?
Shrinkage happens when your curl pattern contracts as moisture leaves the hair shaft. Water swells the cortex of each strand while it’s wet, and as it evaporates, the curl coils back up tighter than it looked while soaked. It’s basically your hair’s version of a spring returning to shape.
Curl pattern determines how dramatic that spring-back looks. Looser waves and curls (2A through 3B) might lose a few inches of visual length. Tighter coils have it rougher: 4A through 4C patterns can shrink up to 75% of their stretched length, which explains why someone with 18 inches of actual hair can look like they’re rocking a 5 inch afro.
Two other factors decide how well any stretching technique holds:
- Porosity — how easily your cuticle lets moisture in and out affects how long a stretched style survives before it curls back up.
- Elasticity — hair with healthy elasticity stretches and holds shape without snapping, while brittle or overprocessed strands resist stretching and break instead.
If your hair has low porosity, moisture takes longer to penetrate, so stretched styles often last longer once you finally get them set. High porosity hair absorbs fast but also loses that stretch fast, especially in damp weather.
Quick Action List: Easy Steps to Reduce Visible Shrinkage Today
You don’t need a full weekend routine to start seeing a difference. Work through these steps in order, and you’ll notice more length showing by the time your hair dries.
- Start on damp, not soaking wet, hair. Squeeze out excess water with a microfiber towel or cotton t-shirt first.
- Seal in moisture before you stretch. Apply a leave-in, then a light oil or cream, so the strand has something to hold onto as it dries.
- Band or braid the damp hair and leave it alone until it’s fully, completely dry. Pulling it apart too early undoes the whole effort.
- Sleep on satin or silk, and pineapple your hair (or use a bonnet) to protect the stretch overnight instead of smashing it flat on cotton.
- Cut back on washing. Frequent washes with harsh sulfates strip moisture and tighten curls right back up. A sulfate-free cleanser used less often keeps more of your stretch intact between wash days.
That’s the whole shortlist. Master these five and you’ve already covered most of what actually moves the needle on visible length.
Step-by-Step Instructions for the Best Heat-Free Stretching Techniques
Technique beats product almost every time here. Practitioners who work with textured hair daily estimate that roughly 80% of successful shrinkage management comes down to physical styling methods, with product choice filling in the remaining 20%. Here’s how to actually do the methods that work.
Banding
- Detangle damp hair and divide it into four to six sections.
- Wrap snag-free elastics (the fabric-covered kind, never bare rubber bands) down each section every two to three inches, from root to tip.
- Let it air dry completely. Rushing this with a hair dryer on high heat defeats the purpose.
- Remove the bands gently from the bottom up to avoid pulling out the stretch you just built.
African threading
- Section clean, moisturized hair the same way you would for banding.
- Wrap cotton thread tightly (but not painfully) around each section from root to end, similar to banding but with more even tension throughout.
- Secure the tip by looping the thread back through itself.
- Once dry, snip the thread carefully rather than yanking it out, which prevents frizz and breakage at the ends.
Braid-outs and twist-outs
- Detangle thoroughly first. Any tangles get locked in once you braid.
- Use the shingling technique, smoothing product down each small section before braiding, so curls clump together instead of frizzing apart.
- Braid or twist with medium tension. Too tight and you risk tension alopecia at the edges; too loose and it won’t hold a stretch.
- Unravel only once completely dry, and separate gently with your fingers rather than a comb to keep the stretched definition.
Rod sets, roller sets, and curlformers
- Set on damp, product-coated hair for the cleanest curl or wave definition.
- Air dry if you have the time, or sit under a low-heat hooded dryer to speed things up without direct heat contact on the strand.
- Remove rods or rollers starting from the nape, working up, to avoid disturbing the sections you’ve already freed.
Low-tension blow-dry
Tension, not heat, does the actual stretching work here. A comb attachment or brush pulling the section taut is what elongates the curl. Heat just helps it dry that way faster.
- Keep the dryer on low or medium heat, never the highest setting.
- Apply a heat protectant to every section before you start.
- Move the nozzle constantly and pass over each section once, not repeatedly.
Pro Tip: Space blow-dry stretch sessions weeks apart. Giving your strands time to recover elasticity between heat sessions matters more than any product you put on beforehand.
Moisture Routines and Product Layering for Better Stretch Retention
The LOC method (liquid, oil, cream) and LCO method (liquid, cream, oil) both aim to trap water in the hair shaft, but which order works better depends on your porosity. Low-porosity hair often does better with LCO since the lighter cream absorbs before a heavier oil seals it in. High-porosity hair, which loses moisture fast, usually holds up better with LOC, where the oil creates an earlier barrier.
Watch out for glycerin in humid climates. It’s a fantastic humectant most of the year, pulling moisture from the air into your strands. But in extreme humidity, it pulls in so much moisture that curls shrink back up faster, undoing whatever stretch you just spent 20 minutes creating.
- Low porosity: seal with lightweight oils (grapeseed, argan) that won’t sit on top of the cuticle without absorbing.
- High porosity: seal with heavier butters (shea, mango) that slow moisture loss more effectively.
- Deep condition weekly, or every other week if your hair leans dry or color-treated.
One more thing worth knowing: soaking hair in water too often without proper sealing can cause hygral fatigue, where the cuticle weakens from repeated swelling and contracting. If your curls feel gummy or stretched out even when dry, ease up on the rewetting and focus on sealing what moisture you already have.
Heat Safety: When to Use Heat and How to Avoid Damage
Heat should be the last tool you reach for, not the first. Tension is what actually stretches the hair; heat just sets that stretch faster. Used carelessly, though, repeated high heat permanently alters your curl pattern, no styling technique will bring it back.
- Keep dryers and flat irons on low to medium heat. Anything above that risks the cuticle.
- Limit passes to one per section. Going back over the same piece of hair repeatedly is where most damage happens.
- Use a heat protectant every time, and favor non-silicone formulas if your hair tends to trap moisture and feel weighed down.
- Strand-test a small, hidden section before a full style. If it feels straw-like or loses curl definition after cooling, that’s your sign to dial the heat down further.
- Space heat sessions out by several weeks so elasticity has time to recover between uses.
Pro Tip: If your curls spring back weaker or looser than usual after a heat session, that’s early heat damage talking. Healthy curls bounce back to their original pattern every time; damaged ones don’t.
Retaining Length: Reduce Breakage So Stretched Styles Show True Growth
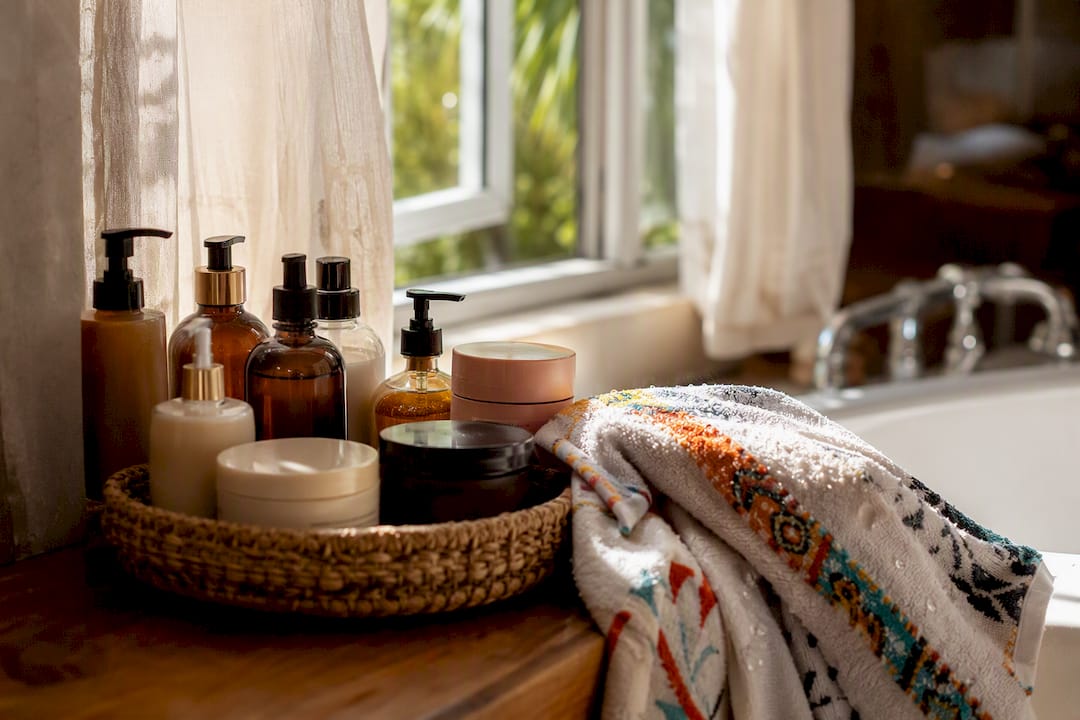
Stretching techniques only show off length you’ve actually got, so protecting what you’ve grown matters just as much as the styling itself. Regular trims, even small ones every few months, stop split ends from traveling up the strand and wrecking the smoothness of your stretched styles.
Balance protein and moisture based on how your hair behaves. Hair that feels gummy or overly stretchy when wet usually needs protein; hair that feels stiff, dry, or straw-like needs moisture. Alternating between the two, rather than guessing, keeps elasticity where it needs to be for stretching to work.
- Protect edges nightly with satin or silk to prevent friction breakage at your hairline.
- Pineapple longer hair or use a bonnet to preserve curls and stretch while you sleep.
- Rotate protective styles (twists, braids, buns) rather than wearing the same tension pattern for weeks straight.
- If you use extensions, choose lightweight options and avoid styles pulled tight enough to tug at the root.
Protein comes from the inside too. Foods rich in collagen and amino acids support the keratin structure your hair is built from, and some readers find bone broth’s protein content a useful addition alongside topical protein treatments.
An Honest Take on Stretching Curly Hair Without Wrecking It
Most of the frustration around shrinkage comes from fighting it instead of working with it. I lean heat-free almost every time, banding and twist-outs handle 90% of what a blow dryer promises, without the cumulative risk. Heat has a place, but it’s a once-in-a-while tool, not a weekly habit.
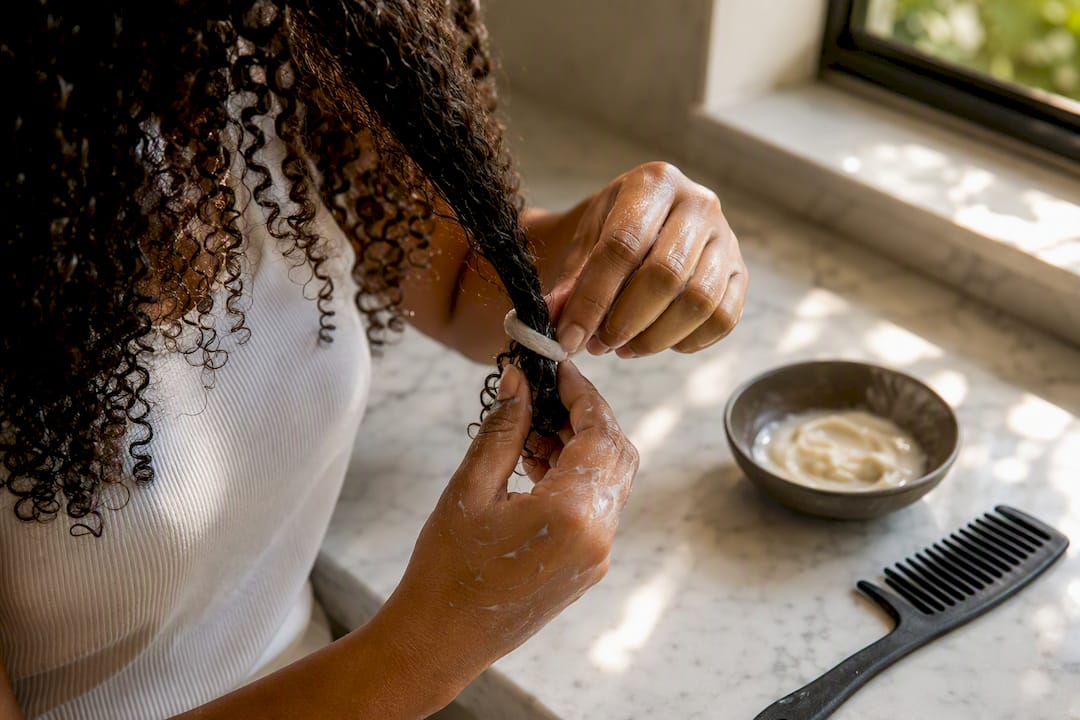
Here’s the reframe that actually helps: shrinkage isn’t a flaw to correct, it’s your curls proving they’ve got healthy memory and elasticity. The real goal isn’t eliminating shrinkage. It’s retaining the length you’ve grown and choosing when to show it off.
[brand_signal] [author_bio]
— Chadi
Sources
- Natural Hair Shrinkage: What It Is and How to Stretch Your Curls — Carol’s Daughter
- What actually stops shrinkage (Edge Naturale)
- How to retain length, stretch natural hair, and avoid heat damage — Indique Hair
- How to stop shrinkage in hair: 7 tips that work — Theradome