

Most Canadian candy shops are missing a major opportunity by not offering treats inspired by American freeze-drying trends. With more than 60 percent of millennials turning to online shops for unique flavor experiences, perfecting your freeze-dried creations can set your business apart. This guide shows how high-quality ingredients and precise techniques transform ordinary candies into innovative showstoppers that attract the digital generation.
Table of Contents
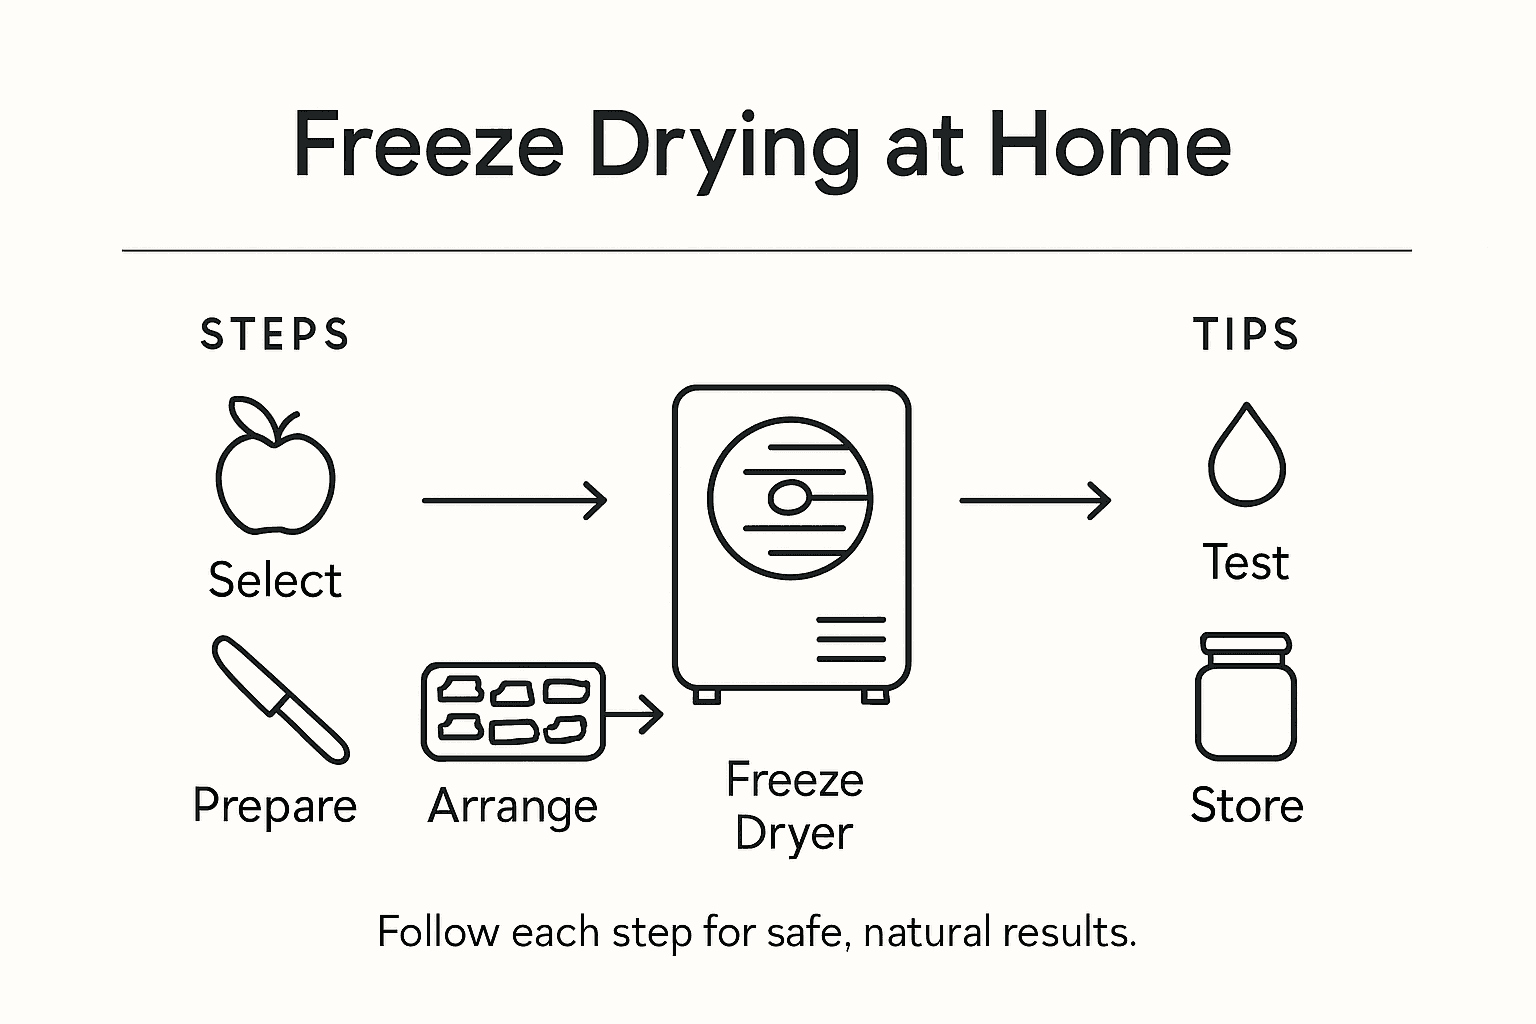
- Step 1: Select High-Quality Ingredients For Freeze-Drying
- Step 2: Prepare And Arrange Foods For Optimal Results
- Step 3: Set Up Your Home Freeze Dryer Correctly
- Step 4: Start And Monitor The Freeze-Drying Process
- Step 5: Test And Store Your Freeze-Dried Products
Quick Summary
| Main Takeaway | Explanation |
|---|---|
| 1. Select high-quality ingredients | Use ripe, unblemished fruits and vegetables for optimal flavor and nutrition in freeze-drying. |
| 2. Prepare foods uniformly | Cut pieces to a quarter to half inch thick for even drying and consistent results. |
| 3. Properly set up the freeze dryer | Ensure a cool, dry location with the right power supply and space for airflow around the unit. |
| 4. Monitor the drying process | Keep track of temperature and pressure during the three stages of freeze-drying for best results. |
| 5. Store products in airtight containers | Use Mylar bags or glass jars to maintain the quality and extend the shelf life of freeze-dried foods. |
Step 1: Select high-quality ingredients for freeze-drying
Choosing the right ingredients is the foundation of successful freeze-drying at home. Your final product’s quality depends entirely on the raw materials you start with, so select with care and precision.
When freeze-drying, focus on selecting ripe and unblemished fruits and vegetables that are fresh and free from damage. Look for produce that is at its peak ripeness but not overripe. Avoid any ingredients showing signs of mold, bruising, or decay. The goal is to capture ingredients at their nutritional and flavor zenith, ensuring your freeze-dried products maintain maximum taste and nutritional value.
Prepare your selected ingredients by washing them thoroughly and cutting them into uniform sizes. This helps ensure even freeze-drying and consistent results. Some ingredients work better than others temperature and structure wise, so consider starting with foods that are known to freeze dry well like berries, apples, and herbs. By taking time to select and prepare high-quality ingredients, you set yourself up for freeze-drying success.
Pro tip: Choose seasonal, locally sourced produce for the most flavorful and nutrient-dense freeze-dried results.
Step 2: Prepare and arrange foods for optimal results
Preparing and arranging your ingredients correctly is crucial for achieving perfect freeze-dried results. This step transforms your carefully selected produce into a foundation for successful freeze-drying.
Proper preparation involves washing foods thoroughly and removing any inedible parts before cutting them into uniform thin pieces. The key is creating consistent slice sizes that will dry evenly. For most fruits and vegetables, aim for pieces around one quarter to half inch thick. If you are working with proteins or grains, pre-cooking might be necessary to ensure food safety and optimal texture. When placing items on freeze-drying trays, spread them in a single layer without overcrowding. This allows cold air to circulate freely and ensures each piece dries consistently.
Some ingredients might require additional pre-treatment before freeze-drying. For example, fruits prone to browning like apples or bananas can be briefly dipped in lemon juice to preserve their color and prevent oxidation. Vegetables such as broccoli or green beans might benefit from quick blanching to maintain their vibrant appearance and lock in nutrients. Pay close attention to spacing and ensure no pieces are touching each other on the tray to maximize air circulation and drying efficiency.
Pro tip: Use a mandoline slicer for perfectly uniform food pieces that dry more consistently and quickly.
Here is a quick reference for pre-treating common foods before freeze-drying:
| Food Type | Suggested Pre-Treatment | Reason for Pre-Treatment |
|---|---|---|
| Apples/Bananas | Dip in lemon juice | Prevent browning and oxidation |
| Broccoli/Green beans | Quick blanching | Preserve color and nutrients |
| Berries | Rinse and pat dry | Ensure cleanliness and dry skins |
| Herbs | Wash and trim stems | Remove dirt and optimize drying |
Step 3: Set up your home freeze dryer correctly
Setting up your home freeze dryer correctly is essential for achieving consistent and safe freeze-drying results. This step requires careful planning and attention to several key details that will impact your machine’s performance and longevity.
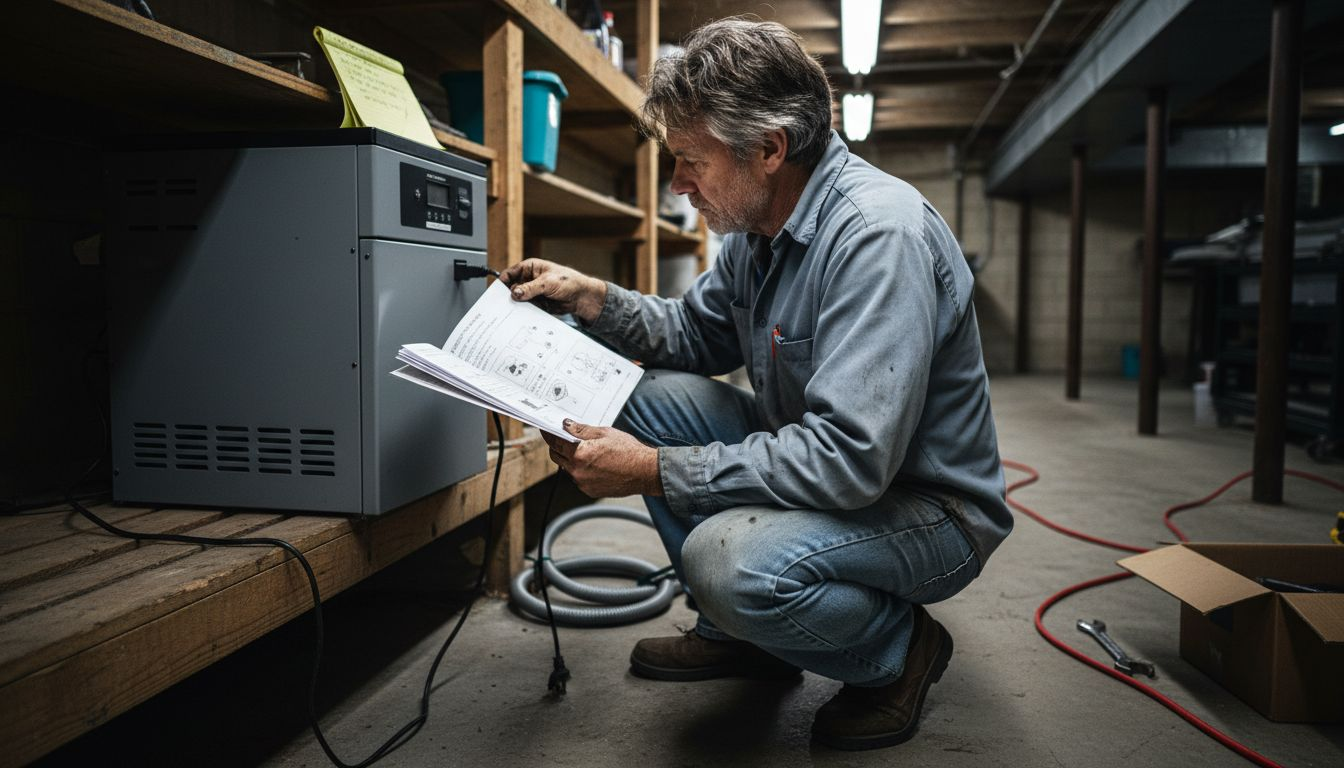
Proper setup begins with selecting the right location and ensuring you have an appropriate power supply. Most medium and large freeze dryers require a dedicated 20-amp circuit, so verify your electrical setup before installation. Choose a cool, dry area with excellent ventilation and sufficient space around the machine for airflow. Position the unit away from direct sunlight and heat sources, leaving at least six inches of clearance on the back and sides to prevent overheating and ensure optimal performance.
Carefully follow the manufacturer’s assembly instructions when setting up your freeze dryer. This includes installing clean trays, connecting the vacuum pump, and checking all seals and components. If you have an oil-based vacuum pump, familiarize yourself with the maintenance schedule for oil changes. Take time to understand each component’s function and perform a preliminary inspection to confirm everything is in perfect working order before your first freeze-drying session. Proper initial setup will help prevent potential issues and ensure smooth, efficient operation throughout your freeze-drying adventures.
Pro tip: Keep a maintenance log to track your freeze dryer’s performance and schedule regular cleaning and component checks.
Step 4: Start and monitor the freeze-drying process
Starting and monitoring your freeze-drying process requires precision and careful attention to ensure optimal food preservation. This critical stage transforms your prepared ingredients into long lasting shelf stable products through a complex scientific process.
The freeze-drying process involves three distinct stages: complete freezing, primary drying through sublimation, and secondary drying to remove residual moisture. Begin by placing your prepared food trays into the freeze dryer and initiating the freezing cycle. During this stage, ensure temperatures drop well below zero to completely crystallize moisture within the food. As the cycle progresses, the machine will create a vacuum environment that allows ice to transform directly from solid to vapor without passing through a liquid state. Monitor your equipment closely, checking temperature and pressure readings to confirm the sublimation process is proceeding correctly.
Throughout the drying cycle, keep detailed records of cycle times and equipment performance. Pay special attention to the product temperature and pressure, as fluctuations can impact the final quality of your freeze-dried foods. Remember that the freeze-drying process does not inherently kill pathogens, so maintaining strict food safety practices from preparation through drying remains crucial. Be patient and resist the temptation to interrupt the cycle prematurely. Each food type will have unique drying requirements, so consult your freeze dryer’s manual for specific guidance and expected cycle durations.
Pro tip: Always keep a notebook near your freeze dryer to log cycle details and track performance variations for different types of food.
Step 5: Test and store your freeze-dried products
After completing the freeze-drying process, your final steps involve carefully testing the products and preparing them for long-term storage. This crucial stage ensures the quality and longevity of your preserved foods.
Testing freeze-dried products requires checking for complete moisture removal by gently breaking or squeezing pieces to confirm their total dryness. The ideal freeze-dried food should feel brittle and snap easily without any signs of softness or flexibility. Look for a light, airy texture that indicates successful moisture extraction. When you break a piece, it should create a clean snap and feel completely dry to the touch. Any hint of moisture or sponginess suggests the item needs additional drying time.
For optimal preservation, package your freeze-dried foods in airtight containers that protect against moisture and oxygen. Mylar bags with oxygen absorbers work exceptionally well for this purpose. Label each package with the contents and date of preservation. Choose a storage location that is cool, dark, and dry to maximize shelf life. When stored correctly, your freeze-dried foods can remain stable for 15 to 25 years, providing a reliable and nutritious emergency food supply or convenient pantry option. Always conduct periodic checks on your stored items to ensure continued quality and watch for any signs of degradation.
Pro tip: Use clear glass jars with tight sealing lids for short term storage so you can visually inspect your freeze-dried products without opening the container.
Below is a summary of freeze-drying storage options and their benefits:
| Storage Method | Best For | Benefit | Shelf Life |
|---|---|---|---|
| Mylar bags w/ oxygen absorbers | Long-term storage | Blocks moisture and air | Up to 25 years |
| Glass jars w/ tight lids | Short-term use | Easy inspection and access | Several months |
| Vacuum-sealed bags | Medium-term storage | Good oxygen barrier, compact | 1-2 years |
Transform Your Freeze-Drying Experience with Expert Support and Quality Products
Mastering the art of freeze-drying at home involves detailed steps like ingredient selection, precise preparation, and careful monitoring of the freeze-drying process. Many face challenges such as achieving consistent moisture removal, maintaining food safety, and finding reliable packaging solutions to preserve freshness for years. Whether you are aiming to produce nutritious emergency food or delightful freeze-dried treats, overcoming these hurdles is essential to success.

Discover how Space-Man can help you elevate your freeze-drying journey. As a leading Canadian freeze-dried candy manufacturer and distributor, we offer premium-quality products alongside private labeling, co-packing, and bagging services tailored for consumer goods. If you want to skip the complicated preparation or need expert packaging that maximizes shelf life, explore our full range of services and products today. Don’t wait to secure perfectly packaged, delicious freeze-dried foods at your fingertips by visiting Space-Man now and turn your freeze-drying goals into reality.
Frequently Asked Questions
How do I select the best ingredients for freeze-drying at home?
To select the best ingredients, choose ripe and unblemished fruits and vegetables that are fresh and free from damage. Aim for produce that is at its peak ripeness and avoid any signs of decay, such as mold or bruising.
What preparation steps should I take before freeze-drying my food?
Before freeze-drying, wash your ingredients thoroughly and cut them into uniform thin pieces, ideally around one quarter to half inch thick. This ensures even drying and consistency in your final products.
How do I properly set up my home freeze dryer?
Properly set up your home freeze dryer by choosing a cool, dry area with good ventilation and a dedicated power supply. Follow the manufacturer’s instructions for assembly and position the machine with adequate space around it to avoid overheating.
What should I monitor during the freeze-drying process?
During the freeze-drying process, monitor the temperature and pressure readings to ensure sublimation progresses correctly. Keep detailed records of cycle times and check the product’s temperature regularly to achieve optimal results.
How can I test if my freeze-dried products are completely dry?
To test if your freeze-dried products are completely dry, gently break or squeeze pieces to see if they feel brittle and snap easily without any soft spots. Any hint of moisture or sponginess means that the item needs more drying time.
What’s the best way to store freeze-dried foods for long-term preservation?
Store freeze-dried foods in airtight containers, such as Mylar bags with oxygen absorbers, to protect them from moisture and air. Keep them in a cool, dark, and dry place to maximize shelf life, which can range from 15 to 25 years.
Recommended
- What Is a Home Freeze Dryer and Why It Matters – Spaceman
- What Is a Freeze Dryer Machine? Complete Overview – Spaceman
- Best Freeze Dryer: Complete Guide for 2025 Buyers – Spaceman
- Advantages of Freeze Dryers for Snack Businesses – Spaceman
- How to Store Linens: Easy Tips for an Organized Home (2025) – BLUSHBEES USA