

Every batch of homemade freeze-dried fruit starts with the choices you make in your kitchen. For Canadians who love crafting healthy snacks and want their favorite fruits to last well past peak season, selecting fully ripe but firm produce and preparing it carefully sets the stage for perfect texture and flavor. By focusing on uniform size and thorough washing, you give your fruit the best chance to become a sweet, satisfying treat that stays fresh for months.
Table of Contents
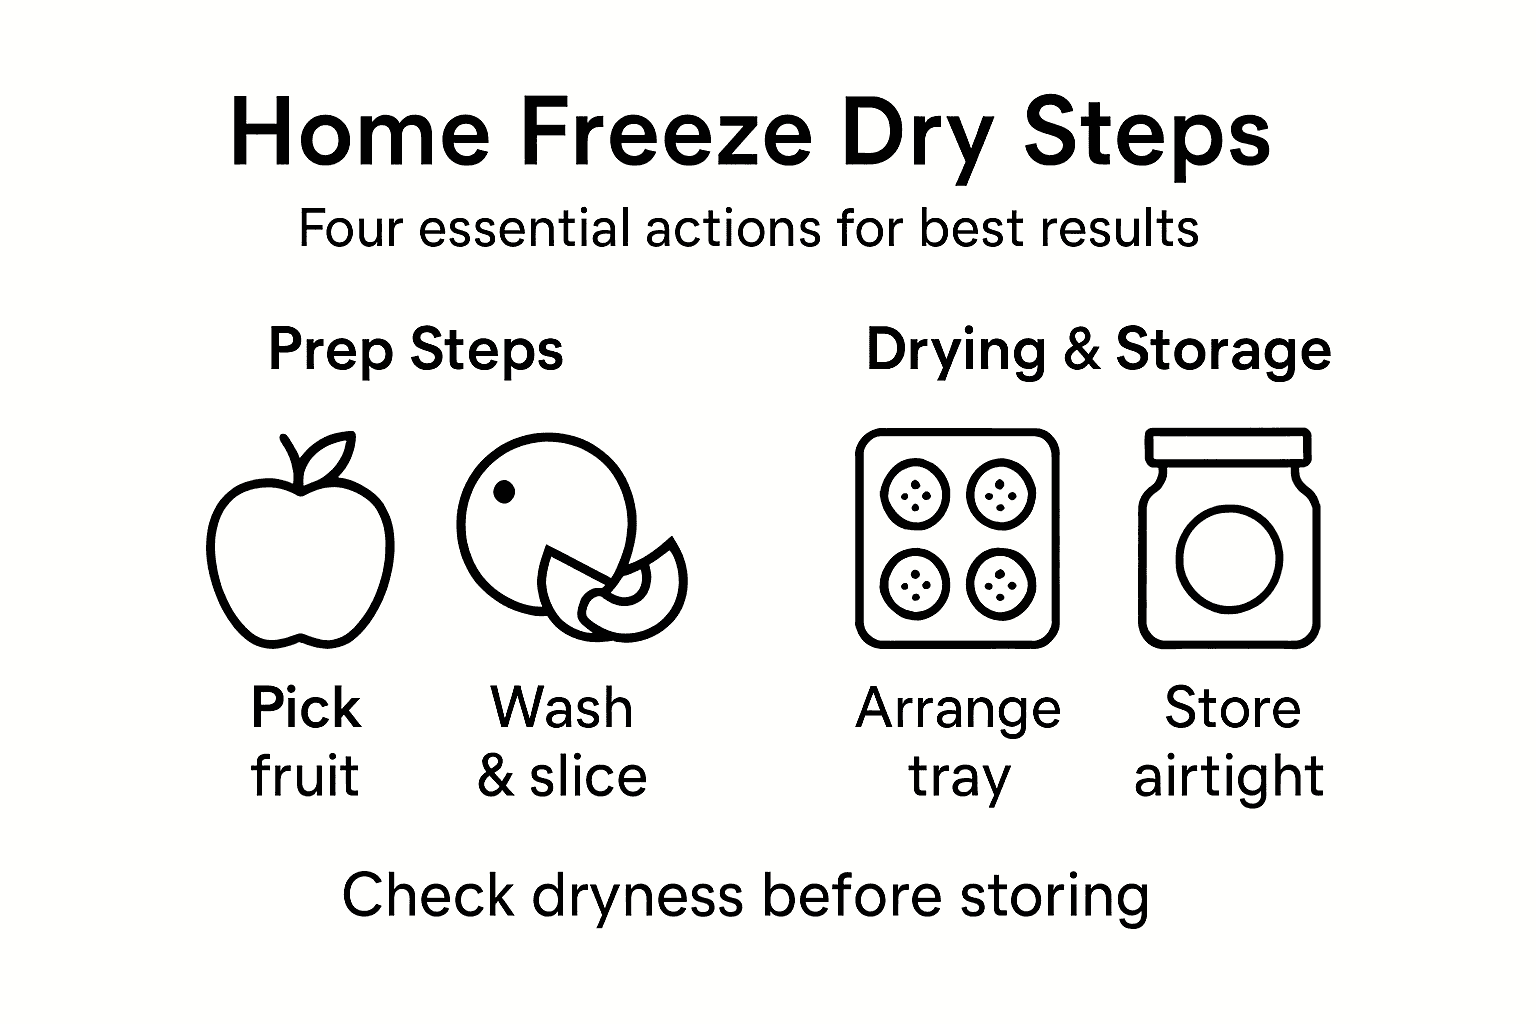
- Step 1: Select and Prepare Fresh Fruit
- Step 2: Arrange and Pre-Treat Fruit Slices
- Step 3: Set Up and Operate the Freeze Dryer
- Step 4: Check for Complete Dryness and Store Properly
Quick Summary
| Key Point | Explanation |
|---|---|
| 1. Choose ripe and firm fruit | Fully ripe but firm fruit ensures optimal flavor and texture, avoiding bitterness from unripe or mushiness from overripe fruit. |
| 2. Uniformly slice fruit for drying | Consistent thickness across fruit slices prevents uneven drying, ensuring all pieces become shelf-stable at the same time. |
| 3. Use ascorbic acid on light fruits | Treating light-colored fruits like apples and strawberries with ascorbic acid prevents browning, keeping them visually appealing and fresh. |
| 4. Cool completely before storing | Allow freeze-dried fruit to cool to room temperature first; this prevents moisture absorption in sealed containers from residual warmth. |
| 5. Use airtight containers for storage | Store freeze-dried fruits in moisture-proof, airtight containers to extend their shelf life to 12-24 months under optimal conditions. |
Step 1: Select and Prepare Fresh Fruit
This step sets the foundation for successful freeze-drying. Your choices here directly impact flavor, texture, and shelf life of your final product.
Start by choosing fully ripe but firm fruit. This matters more than you might think. Unripe fruits taste bitter and won’t develop the full sweetness that makes freeze-dried snacks so satisfying. But overripe fruit becomes mushy during processing, so you’re looking for that sweet spot where the fruit yields slightly to pressure but still holds its shape.
Harvest only what you can process within a few hours. If you can’t work with everything immediately, refrigerate it right away. Time is your enemy once fruit is picked, so getting it into the freeze-dryer quickly preserves maximum flavor and nutrition.
Washing removes surface contaminants that affect quality. Use cold water to rinse fruits thoroughly, running them under the tap several times to eliminate dirt, bacteria, and pesticide residue. Avoid soaking your fruit—that only causes water absorption and nutrient loss.
Once washed, consider whether your fruit needs additional prep:
- Soft, very ripe fruits: Freeze as purées instead of whole pieces
- Berries and small fruits: Leave whole for uniform drying
- Stone fruits and apples: Pit, core, or slice into uniform thickness (around quarter-inch works best)
- Large fruits: Cut into manageable pieces so they dry evenly
Uniform sizing matters because thicker pieces take longer to dry completely. If some chunks are half-inch thick while others are quarter-inch, you’ll end up with some pieces over-dried while waiting for the thick ones to finish.
Here’s a quick guide to common fruit types and their ideal freeze-drying preparation methods:
| Fruit Type | Best Prep Method | Slice Thickness | Special Consideration |
|---|---|---|---|
| Strawberries | Slice | 1/4 inch | Treat with ascorbic acid |
| Blueberries | Leave whole | N/A | Prick skin for better drying |
| Apples | Core and slice | 1/4 inch | Prevent browning with vitamin C |
| Peaches/Stone Fruits | Pit and slice | 1/4 inch | Store covered after cutting |
| Bananas | Slice | 1/4 inch | Pat dry to reduce moisture |
Your fruit is now ready to load into the freeze-dryer. The preparation work you’ve done here—selecting ripe fruit, washing carefully, and cutting consistently—directly affects how successfully your batch will turn out.
Pro tip: Pat your fruit completely dry with a clean kitchen towel after washing; excess surface moisture extends freeze-drying time and can cause ice crystallization patterns that affect texture.
Step 2: Arrange and Pre-Treat Fruit Slices
Now that your fruit is prepped, this step ensures even drying and optimal color preservation. Proper arrangement and pre-treatment can cut your freeze-drying time significantly.
Start by arranging your fruit in a single layer on your freeze-dryer trays. This matters far more than it sounds. When fruit pieces touch or stack, the areas in contact won’t dry properly, leaving you with partially frozen centers and uneven texture. Space each piece so air can circulate completely around it.

Uniformity in thickness makes everything easier. Slice fruits uniformly to suitable thickness depending on what you’re working with. Berries stay whole, but larger fruits like apples or pears should be cut to roughly the same thickness so they all finish drying at the same time.
Light-colored fruits deserve special attention. Treat them with ascorbic acid (vitamin C) to prevent enzymatic browning before they go into the freeze-dryer. This keeps your strawberries, apples, and pears looking bright and appetizing rather than turning that unappetizing brown-gray. You can buy ascorbic acid powder at most grocery stores or use a citric acid solution.
Consider your fruit’s sugar content when planning. Higher sugar fruits may benefit from osmotic pre-treatment, which removes some moisture using sugar or salt solutions. This reduces overall drying time and improves the final texture, though it’s optional for home freeze-drying.
The key steps for arrangement and treatment:
- Arrange fruit in single layers with space between pieces
- Apply ascorbic acid to light-colored fruits immediately after slicing
- Keep pre-treated fruit covered loosely to prevent dust contamination
- Load trays into the freeze-dryer as soon as possible after treatment
Immediate pre-treatment and single-layer arrangement are your biggest time-savers. They prevent clumping and ensure every piece dries evenly and completely.
Pro tip: Use parchment paper or silicone mats on your trays; fruit won’t stick, cleanup takes seconds, and you can reuse them for dozens of batches.
Step 3: Set Up and Operate the Freeze Dryer
This is where the magic happens. Your freeze-dryer will transform your prepared fruit into shelf-stable snacks through a carefully controlled process.
Start by powering on your freeze-dryer and allowing it to reach its initial temperature settings. Most home units need 15 to 30 minutes to stabilize before you load anything inside. Check your specific model’s manual for exact pre-cooling times.
Load your prepared fruit trays into the chamber, arranging them on the shelves according to manufacturer guidelines. Make sure nothing blocks airflow between shelves. The machine needs that circulation to work effectively.
Once loaded, freeze-drying involves cycles of freezing, primary drying, and secondary drying that work together to remove moisture completely. Your machine will handle most of this automatically, but understanding what’s happening helps you troubleshoot if something goes wrong.
The three main stages are:
- Freezing stage: The unit rapidly freezes your fruit to avoid large ice crystals
- Primary drying: Vacuum and low heat cause ice to sublimate directly to vapor
- Secondary drying: Temperature rises slightly to remove remaining unfrozen water molecules
Monitor your machine periodically, though most modern freeze-dryers run unattended. The entire cycle typically takes 20 to 40 hours depending on fruit thickness and moisture content. You’ll see the cycle complete when the condenser frost disappears and the machine signals readiness.
Temperature control and pressure management are critical throughout. Your freeze-dryer maintains these automatically, but avoid opening the door unnecessarily during operation as this disrupts the vacuum.
Never interrupt a cycle mid-process. Once you start, let your freeze-dryer complete its full sequence for best results.
When the cycle finishes, carefully remove the trays and let them cool to room temperature before opening containers.
Pro tip: Keep a simple log of your batch dates, fruit types, and cycle times; you’ll quickly identify patterns that help you adjust timing for different fruits.
Step 4: Check for Complete Dryness and Store Properly
Your freeze-dried fruit is almost ready. This final step determines whether your snacks stay fresh for months or spoil within weeks.
Start by removing the trays from your freeze-dryer and letting them cool completely to room temperature. Hot fruit will absorb moisture from the air, undoing all your hard work. This cooling period typically takes 30 minutes to an hour depending on batch size.
Once cool, check for complete dryness using multiple senses. Look for any visible mold or discoloration. Smell the fruit—any unusual or off odors mean it isn’t ready. Break a piece in half; it should be crisp or leathery, never soft or damp. Taste a small sample; properly dried fruit tastes concentrated and sweet, not mushy.
If any pieces feel slightly moist, return them to the freeze-dryer for another 2 to 4 hour cycle. Incomplete drying invites mold and bacterial growth that ruins your entire batch.
Now comes storage, which requires airtight, moisture-proof containers to prevent reabsorption and maintain quality. Your choices here directly impact how long your freeze-dried fruit stays edible.
Storage best practices include:
- Use clean, dry, food-grade containers that seal completely
- Add oxygen absorbers to sealed containers for extended shelf life
- Store in a cool, dark, dry place away from direct sunlight
- Keep containers away from heat sources and humidity
- Consider vacuum-sealed bags for long-term storage
- Label containers with contents and freeze-dry date
Proper storage can extend shelf life to 12 to 24 months when kept in optimal conditions. Freezing your airtight containers adds another layer of protection and can preserve quality even longer.
This summary highlights storage container options for freeze-dried fruit:
| Container Type | Moisture Protection | Shelf Life Potential | Extra Steps |
|---|---|---|---|
| Glass Jars | Moderate | Up to 12 months | Use oxygen absorbers |
| Mylar Bags | Excellent | 12–24 months | Vacuum seal for best results |
| Plastic Containers | Low to moderate | 6–12 months | Store in cool, dry place |
Cool completely before packaging. Warm fruit trapped in sealed containers will create condensation that ruins your batch.
Pro tip: Store a small silica gel packet in each container to absorb any residual moisture; replace packets every few months if you’re keeping inventory long-term.
Take Your Freeze-Dried Fruit to the Next Level with Professional Support
Mastering home freeze-drying means tackling challenges like selecting perfectly ripe fruit, arranging slices for even drying, and ensuring airtight storage. These steps require patience and precision to avoid common issues such as moisture retention or uneven texture. If you want to skip the guesswork and produce consistently high-quality freeze-dried fruit or snacks, partnering with experts is the solution.

Unlock the benefits of working with a leading freeze-dried candy manufacturer in Canada. At Space Man, we offer private labeling, co-packing, and professional bagging services designed to preserve flavor and freshness using state-of-the-art technology. Whether you seek support scaling up your home projects or want to launch your own branded line, we help you customize solutions tailored to your goals. Visit Space Man now and discover how to elevate your freeze-dried creations with experts who understand every step, from preparation to perfect packaging.
Explore more about our private labeling and co-packing services and transform your passion into premium products today.
Frequently Asked Questions
What is the best way to select fruit for freeze drying at home?
Choose fully ripe but firm fruit for freeze drying. Look for fruit that yields slightly to pressure but holds its shape. This ensures optimal flavor and texture in your final product.
How should I prepare fruit before freeze drying?
Wash the fruit thoroughly in cold water and dry it with a clean kitchen towel. Depending on the type of fruit, you may need to slice, pit, or core it to maintain uniform thickness, aiming for around a quarter-inch slices if applicable.
How do I arrange the fruit in the freeze dryer?
Arrange the fruit in a single layer on the freeze dryer trays, ensuring that pieces do not touch each other. This allows for optimal air circulation and even drying, which is crucial for quality results.
How can I tell if my freeze-dried fruit is completely dry?
Check for complete dryness by ensuring the fruit is crisp or leathery, and doesn’t feel soft or damp. Conduct a visual inspection and smell test; any unusual odors may indicate incomplete drying.
What is the best way to store freeze-dried fruit?
Store freeze-dried fruit in airtight, moisture-proof containers to prevent reabsorption of moisture. For best results, use oxygen absorbers and keep containers in a cool, dark, and dry place to maintain freshness for 12 to 24 months.
Can I prevent browning in light-colored fruits during freeze drying?
Yes, you can prevent browning by treating light-colored fruits with ascorbic acid immediately after slicing. This helps maintain their bright color and appealing appearance.