

TL;DR:
- Proper storage of dried food requires airtight containers and a cool, dry environment to prevent spoilage from moisture and light. Long-term preservation benefits from Mylar bags with oxygen absorbers stored in a stable, low-temperature location, while regular sensory checks ensure quality. Starting with simple methods like glass jars in a cool basement and evolving gradually ensures food safety and preserves flavor over time.
You spent time dehydrating or buying quality dried food, so the last thing you want is to open a jar six months later and find something that smells like a wet dog and looks like abstract art. Knowing how to store dried food correctly is what separates a two-year pantry win from a disappointing waste of money. Poor storage lets in moisture, oxygen, light, and pests, and any one of those can wreck flavor, texture, and nutritional value faster than you’d expect. This guide covers everything you actually need: the right containers, the right environment, step-by-step packaging, and how to catch problems before they become expensive ones.
Table of Contents
- Key Takeaways
- How to store dried food: what you actually need first
- Step-by-step: packaging dried food for storage
- Common mistakes that quietly ruin your dried food
- Monitoring quality and knowing when something’s off
- My honest take on dried food storage advice
- How Space-man helps you store and package dried food right
- FAQ
Key Takeaways
| Point | Details |
|---|---|
| Control heat and humidity | Store dried food at 40°F–70°F with humidity below 60% to prevent mold and spoilage. |
| Choose the right container | Airtight glass jars, Mylar bags, and vacuum-sealed pouches all protect against moisture and oxygen differently. |
| Use oxygen absorbers carefully | Only use oxygen absorbers with foods below 10% moisture to avoid creating dangerous anaerobic conditions. |
| Label everything with dates | FIFO rotation and clear date labels prevent you from unknowingly eating degraded food. |
| Check food regularly with your senses | Best-by dates reflect quality, not safety. Sensory checks are a more reliable freshness indicator. |
How to store dried food: what you actually need first
Before you start filling containers, the setup matters more than most people realize. Getting this part wrong is why so many dried food collections quietly fail over time.
Container types and what they’re good for
The container you choose shapes everything. Not all airtight containers are equal, and the right pick depends on what you’re storing and for how long.
| Container type | Best for | Pros | Cons |
|---|---|---|---|
| Glass mason jars | Herbs, spices, small batches | Reusable, no flavor transfer, easy to inspect | Heavy, breakable, limited size |
| Mylar bags | Long-term bulk storage | Light-blocking, excellent oxygen barrier | Single-use, needs heat sealer |
| Vacuum-sealed bags | Medium-term storage | Removes most air quickly, widely available | Vacuum sealing hits 0.1% oxygen, not as low as absorbers |
| Plastic food-grade buckets | Large-quantity grains and legumes | Durable, stackable, pest-resistant | Clear lids let in light; needs liner |
| Tin cans (commercially sealed) | Ultra-long-term dry goods | Extremely durable, opaque | Not practical for home use |
For most home preservers, the best way to store dried food for everyday use is glass jars. For serious long-term storage, Mylar bags with oxygen absorbers are the clear winner.
The environment is doing half the work
Even a perfect container fails in the wrong room. Shelf life drops by about 50% for every 10.8°F temperature increase above the 40°F–70°F optimal range. That means storing dried food in a warm kitchen cabinet above the stove is essentially a slow-motion spoilage machine.
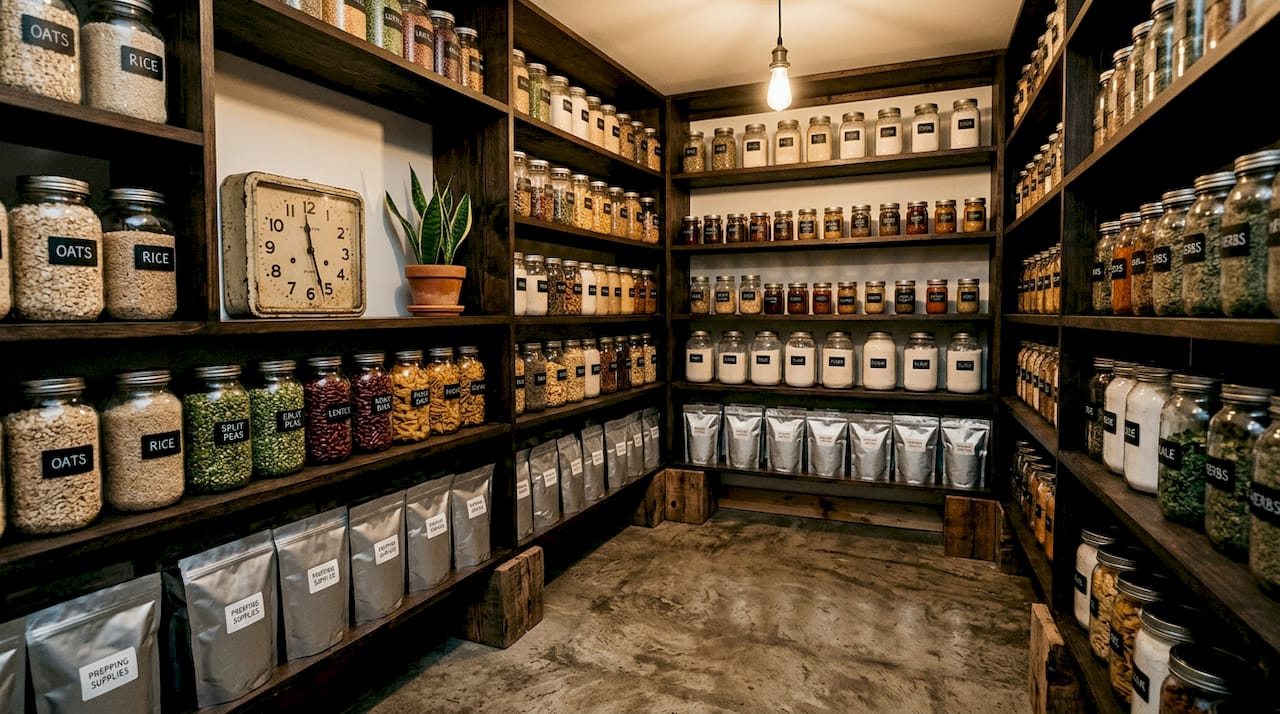
Humidity is just as critical. Relative humidity should stay below 60%, and food moisture content should be 10–13% or lower to stop mold and insects from getting comfortable. A basement corner shelf, a cool pantry closet, or an interior room away from exterior walls are all solid choices.
Key items to have on hand:
- Oxygen absorbers (sized to your container volume)
- Food-grade desiccant packets for extra humidity control
- A digital thermometer and hygrometer combo unit
- A fine-tip permanent marker for labeling
- Heat sealer if you’re using Mylar bags
Pro Tip: Keep your dried food storage at least 6 inches off the ground and 18 inches from exterior walls. This isn’t just a condensation and pest prevention move. It also improves airflow around containers, which helps regulate temperature.
Step-by-step: packaging dried food for storage
Getting the preparation and sealing right the first time saves you from opening a container of disappointment months later. Here’s exactly how to do it.
-
Make sure food is fully dry. Any residual moisture before sealing is your biggest enemy. Fruits and vegetables should be leathery or crisp. Grains and legumes should not clump. If in doubt, run them through a dehydrator for another hour or spread them on a sheet pan in a 150°F oven.
-
Choose your container based on storage goals. Short-term use (three to twelve months): glass jar or vacuum bag. Long-term storage beyond one year: Mylar bag inside a food-grade bucket.
-
Add an oxygen absorber if appropriate. Oxygen absorbers reduce oxygen below 0.01%, significantly outperforming vacuum sealing for ultra-long storage. But there’s a critical rule: only use oxygen absorbers with foods under 10% moisture. Using them with moist foods creates anaerobic conditions that can support botulism growth. No exceptions.
-
Seal your container completely. For jars, hand-tighten the lid, then give it a quarter turn more. For Mylar bags, use a hair straightener or dedicated heat sealer across the top, leaving about an inch unfinished to press out any remaining air before the final seal.
-
Vacuum seal if using bags for medium-term storage. Remember that vacuum sealing removes most air but leaves more oxygen than absorbers. It still extends shelf life meaningfully for one to three year storage goals. You can learn more about freeze dried goods storage to compare methods for different food types.
-
Label every container. Write the food name, date packed, and expected shelf life. This sounds obvious, and yet most people skip it until they’re staring at three identical jars of mystery powder.
-
Organize using FIFO. First in, first out. Newest items go to the back. Oldest items come out first. This one habit prevents more waste than any container upgrade ever will.
Pro Tip: Opened oxygen absorber packets lose effectiveness within 15 to 30 minutes of air exposure. Work fast: pull out only what you need, drop unused packets immediately into an airtight jar, and seal it within minutes.
Common mistakes that quietly ruin your dried food
Most dried food failures are not dramatic. No explosion, no obvious disaster. Just a slow degradation that you notice too late. Here’s what actually goes wrong.
-
Using oxygen absorbers with the wrong foods. High-sugar or high-fat dried foods can have moisture above 10% even when they feel dry to the touch. Using an oxygen absorber in that scenario creates the oxygen-free, moist environment where anaerobic bacteria thrive.
-
Mixing old and new dried food in the same container. This is where insect infestations almost always start. Insect infestations primarily come from old grain debris contaminating new stock. Always use a clean, empty container for fresh batches.
-
Ignoring temperature swings. A garage in Canada goes from freezing in winter to warm in summer. That cycling temperature accelerates degradation even inside sealed containers. Choose a location with stable, cool temperatures year-round.
-
Opening and resealing too often. Every time you open a sealed bag or jar, you let in fresh air, moisture, and light. Portion your dried food into smaller containers so you’re only opening what you’ll use within a week or two.
-
Storing high-fat foods at room temperature. Nuts and whole-grain flours last three to six months in the pantry but twelve to twenty-four months when refrigerated or frozen. If you’re storing seeds, nut flours, or similar items, the pantry is not the right place.
Storing dried herbs and spices deserves its own mention. Ground spices lose potency faster than whole spices because they have more surface area exposed to oxidation. Use small, dark glass jars, store them away from heat and light, and plan to replace ground spices within one to two years even under good conditions.
Monitoring quality and knowing when something’s off
Sealing containers and forgetting them is not a storage strategy. It’s a hope. Real dried food storage involves periodic checks that take less than five minutes and can save you from a very unpleasant discovery.
Knowing your target storage timeline
Different foods have very different shelf lives even under identical storage conditions. Here’s a practical reference:
| Dried food type | Pantry (sealed, cool) | Mylar with oxygen absorber |
|---|---|---|
| White rice and pasta | 2–5 years | 25+ years |
| Dried beans and lentils | 2–3 years | 8–10 years |
| Rolled oats | 1–2 years | 20+ years |
| Dried fruit | 6–12 months | 5 years |
| Dried herbs and spices | 1–3 years | Not typically needed |
| Nut flours | 3–6 months | Refrigerate or freeze instead |
| Freeze-dried candy and snacks | 1–2 years (sealed bag) | 5–10 years |
You can get more detail on freeze dried food shelf life for specific product categories if that’s relevant to your storage setup.
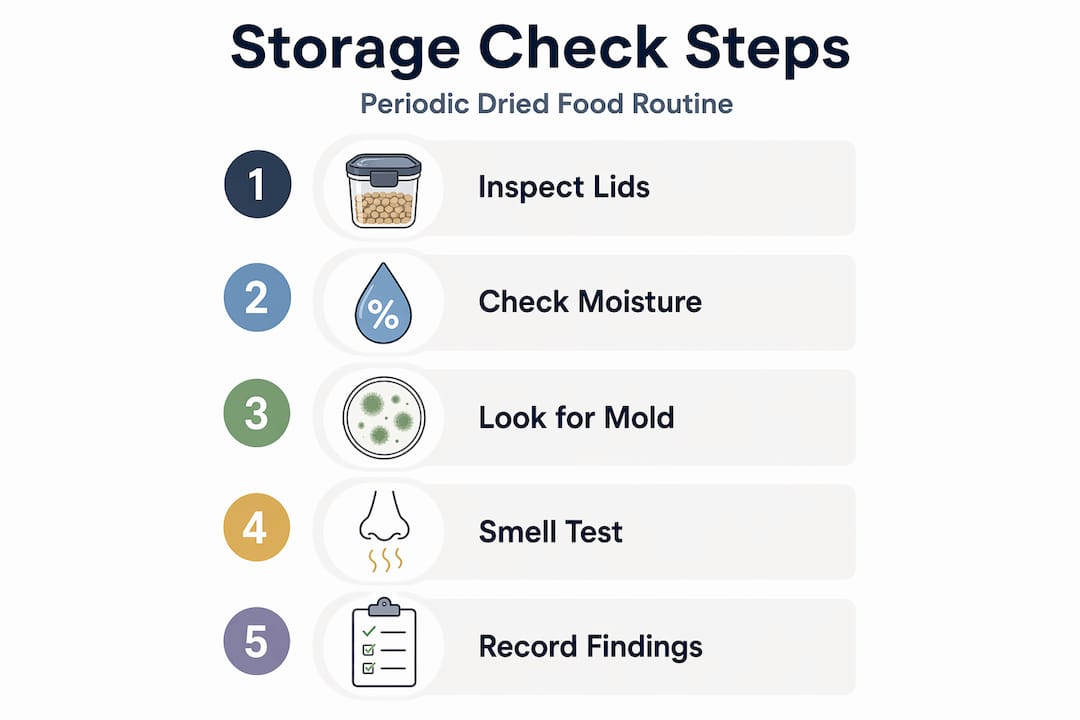
How to check for spoilage without opening everything
Check containers every three to six months. Look for swollen lids, condensation inside clear containers, or visible mold. Open and smell. Dried food should smell clean and mild, close to its original scent. Off odors, staleness, or anything rancid means it is time to discard.
Best-by dates indicate quality, not safety, so don’t rely on them alone. Your nose and eyes will tell you more. Trust that. Taste a small amount when in doubt. You will know immediately if something is wrong.
Pro Tip: Keep a simple notebook or spreadsheet listing what you have in storage, when it was packed, and when to check it next. Three minutes of record keeping now saves a ruined batch later.
My honest take on dried food storage advice
Chadi here. I’ve spent years in the packaging and food preservation space, and I’ll be straight with you: most of the advice you’ll find online treats temperature and humidity like afterthoughts. People obsess over container brand debates while storing everything in a warm kitchen closet next to the water heater. That’s backwards.
In my experience, container choice matters much less than where the container lives. A cheap mason jar in a 60°F basement beats an expensive vacuum-sealed bag in a 78°F pantry. Every single time.
The other thing I learned the hard way is that oxygen absorbers are not a one-size-fits-all tool. I’ve seen people ruin entire batches of dried fruit by sealing them with absorbers without verifying moisture content first. The botulism risk is real, and it doesn’t care how carefully you selected your Mylar bag.
What actually works, in my honest opinion, is starting simple. One or two good glass jars in a cool spot. A cheap hygrometer to check your storage room. Oxygen absorbers only when you’re confident the food is properly dry. Build from there once you have the basics right. I’ve found that food preservation enthusiasm dies fast when people overcomplicate the setup before they understand the fundamentals.
The uncomfortable truth is that food quality often declines long before safety is compromised. Regular sensory checks are more valuable than any gadget. Get in the habit of opening, smelling, and tasting. That habit will serve you better than any fancy tool on the market.
— Chadi
How Space-man helps you store and package dried food right
If you’re taking dried food storage seriously, having access to professionally packaged products and services changes the game. At Space-man, we produce and package freeze-dried goods with the same airtight, moisture-controlled standards this article covers, because we’ve seen what bad packaging does to a great product.

Whether you’re a home preserver looking for well-packaged freeze-dried snacks to add to your storage rotation, or a business interested in professional-grade private label and co-packing services for your own dried food products, Space-man has the infrastructure to help. Our packaging process prioritizes moisture barriers, oxygen control, and shelf-life integrity from day one. Reach out to explore how our packaging expertise can work for your product line or personal storage goals.
FAQ
What is the best way to store dried food long-term?
The best way to store dried food long-term is in Mylar bags with oxygen absorbers, kept in a cool, dark location between 40°F and 70°F. This combination can extend shelf life to 25 years or more for low-fat, low-moisture foods like white rice and dried beans.
How do you prevent moisture in dried food storage?
Keep relative humidity in your storage area below 60%, use airtight containers, and add desiccant packets for extra protection. Foods should have a moisture content of 10–13% or less before sealing to prevent mold growth.
Can you vacuum seal all dried foods?
Vacuum sealing works well for most dried foods but is less effective than oxygen absorbers for ultra-long storage since it only reduces oxygen to about 0.1%. It is also not suitable for fragile dried items that would be crushed by the pressure.
How do you know when dried food has gone bad?
Check for off smells, visible mold, unusual discoloration, or a rancid taste. Best-by dates indicate quality rather than safety, so rely on sensory evaluation over printed dates when checking stored dried food.
How should you store dried herbs and spices?
Store dried herbs and spices in small, airtight dark glass jars away from heat and direct light. Ground spices typically last one to two years under good conditions, while whole dried herbs can hold flavor for up to three years.